
For this project, we’ll make a simple, personalized leather keychain. It’s a perfect beginner’s project and a great way to learn the basics of leatherworking. Let’s get started!
Materials You’ll Need:
- A piece of leather (approximately 6" x 2")
- A leather hole puncher
- Leather dye (optional, for coloring)
- Leather glue (optional, for added strength)
- A keyring
- Needle and thread (preferably waxed thread for durability)
- Scissors or a rotary cutter
- Ruler and pencil for measurements
- Hole punch mat or cutting surface
Step-by-Step Instructions:
-
Cut the Leather
Start by cutting your leather to the desired size for the keychain. A 6" x 2" piece works well for a simple rectangular keychain, but you can adjust the size depending on the style you want. -
Shape and Dye the Leather (Optional)
Use a ruler and pencil to mark any shapes or designs you'd like on your leather. You can round the corners or make a fun shape using scissors or a rotary cutter. If you want to add color, apply leather dye evenly and allow it to dry fully before continuing. -
Mark the Hole Placement
Using your ruler and pencil, mark the placement of the holes. A standard keychain has one hole for the keyring at the top, but you can add more holes for decoration or functionality, like adding a rivet or strap. -
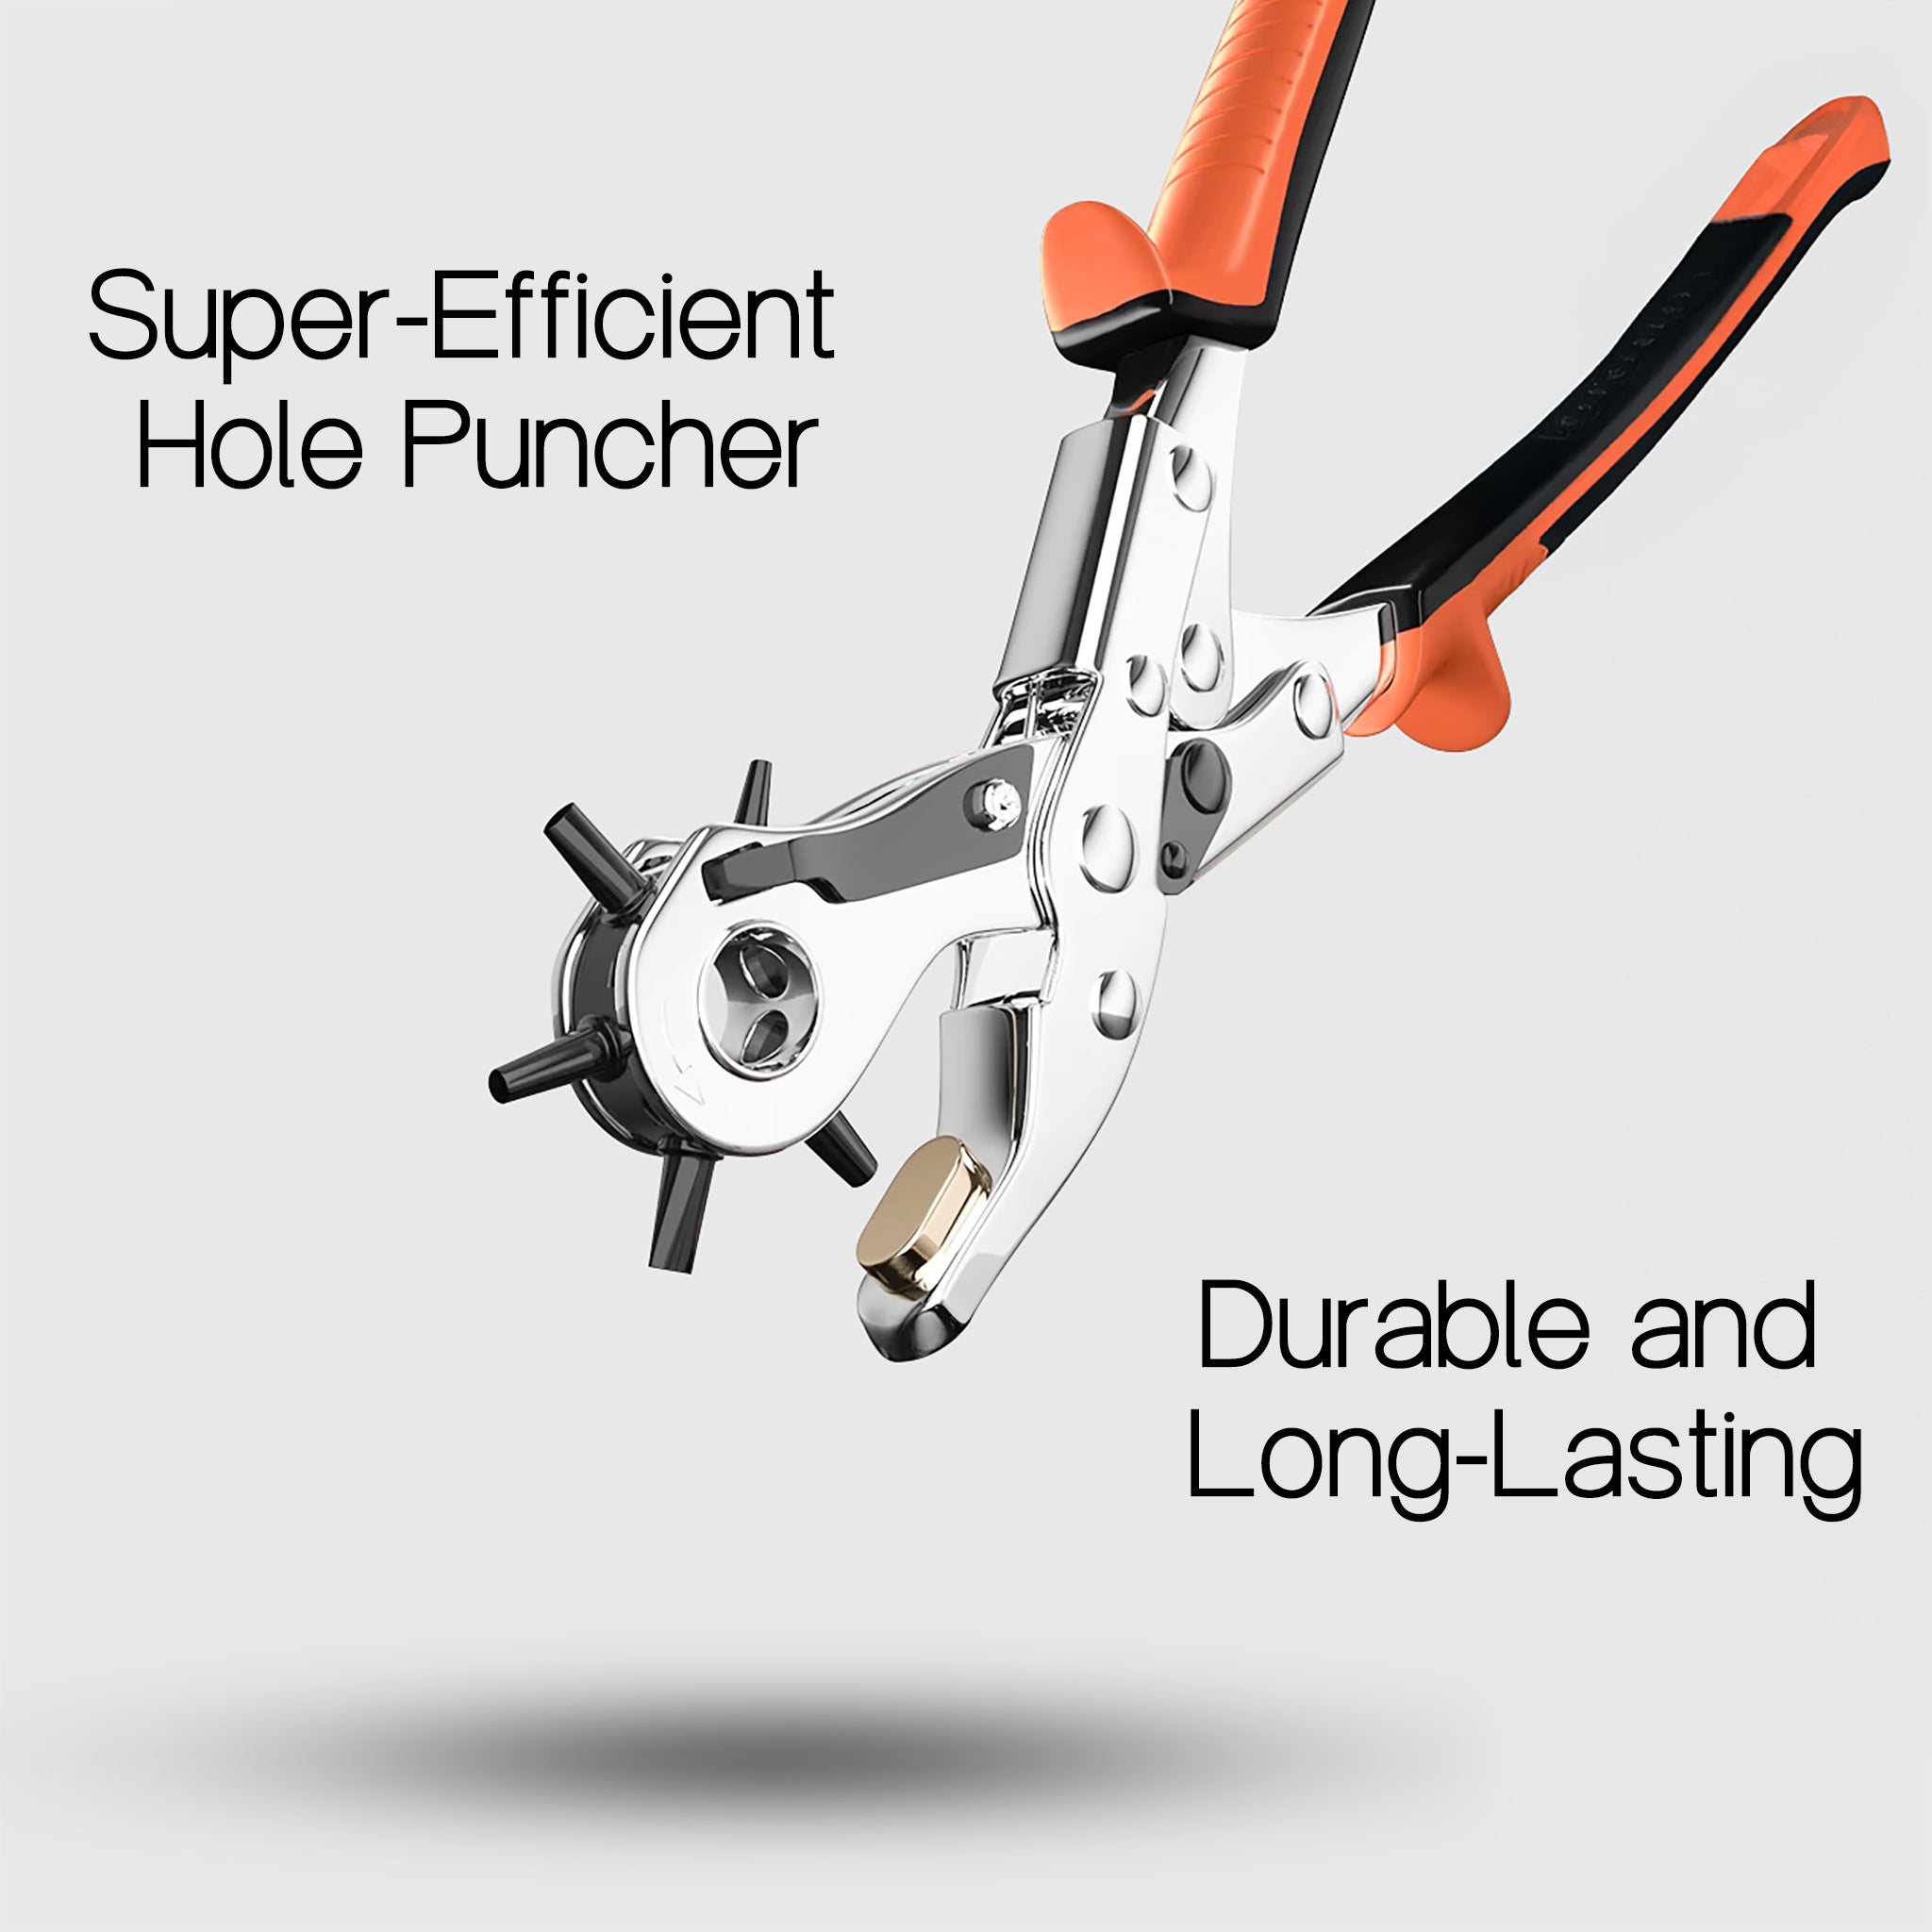
Use the Leather Hole Puncher
Here’s where the leather hole puncher becomes your best friend. This tool allows you to create precise, clean holes in your leather without damaging the material. Depending on the design, use the puncher to make holes at your marked spots. For a keychain, you’ll need one hole at the top for the keyring, but you can also add additional holes for decoration. The puncher’s different sizes make it easy to create holes for various hardware like rivets or snaps. -
Assemble the Keychain
Once you’ve punched the holes, take your keyring and insert it through the hole at the top of the leather. If you’ve added other holes for rivets or straps, now is the time to attach those as well. Use the appropriate fasteners, such as rivets, and secure them using your tools. -
Stitch and Finish
If you want to add extra flair, consider stitching around the edges of your leather piece. Waxed thread works best for leather projects because it's strong and durable. Use a leather needle and follow a simple saddle stitch pattern for a professional-looking finish. -
Final Touches
Once your keychain is fully assembled, you can add final touches like edge burnishing or polishing. This will give your keychain a polished, high-end look.
Why the Leather Hole Puncher is a Must-Have Tool
A leather hole puncher is one of the most essential tools for anyone serious about leatherworking. It provides precision and accuracy, which is critical when you’re working with leather, as improper holes can ruin the entire project. With its sharp, durable punch heads, the leather hole puncher allows you to create holes in varying sizes for stitching, rivets, and hardware—ensuring your project is both functional and aesthetically pleasing.
Using a leather hole puncher ensures that the holes are uniform, which is especially important for projects like keychains, wallets, or belts where multiple holes need to align properly for stitching or fastening. Plus, it’s much easier on your hands and fingers than trying to make holes with a regular tool like an awl, which can be tiring and inconsistent.
Final Thoughts
Leatherworking is a fantastic DIY project that lets you create something both beautiful and functional. Whether you're making a leather wallet, belt, bag, or keychain, using the right tools like a leather hole puncher can make all the difference in the final result. By investing in quality tools and taking the time to learn the basics, you can create personalized leather pieces that reflect your unique style and creativity.
Ready to give leatherworking a try? Get yourself a leather hole puncher and start crafting your next project today! You'll be amazed at how easy it is to create professional-looking pieces with the right tools and a little imagination.